me and my owl pillow! we match!! haha i used the same fabric that i used to make my
dress that i wore today. an over the weekend i decided to get bangs! i wasn't so sure about them but now i LOVE them!! haha me and my friend looked up how to cut bangs on you tube and this is how they turned out! pretty good huh? i think so
first off sorry i didn't post yesterday...i usually post everyday, but i was too busy working on school and this awesome pillow and when i was all done with everything it was too late to post but anyways i have never made a pillow before and i think that i did a pretty good job considering i didn't use a pattern or anything. it wasn't too hard to make and i have lots of pictures to explain how i did it! here we go!
first cut out your pieces. you will need two bodies (make sure you cut them so that the right sides are both showing), one belly, four wings, four feet, two eyes, two eye centers, one beak, and strips for the ruffled belly.
first: pin on all of your body parts onto the front of the body. pin the beak, belly, two wings, two feet, two eyes, and two eye centers. then pin on all of the body parts onto the back of the body. pin on two arms and two feet. make sure that you arms and feet match up. you can do this easily with a marking pencil. also you need to make sure that the wrong sides of the body, wings, and feet are together.
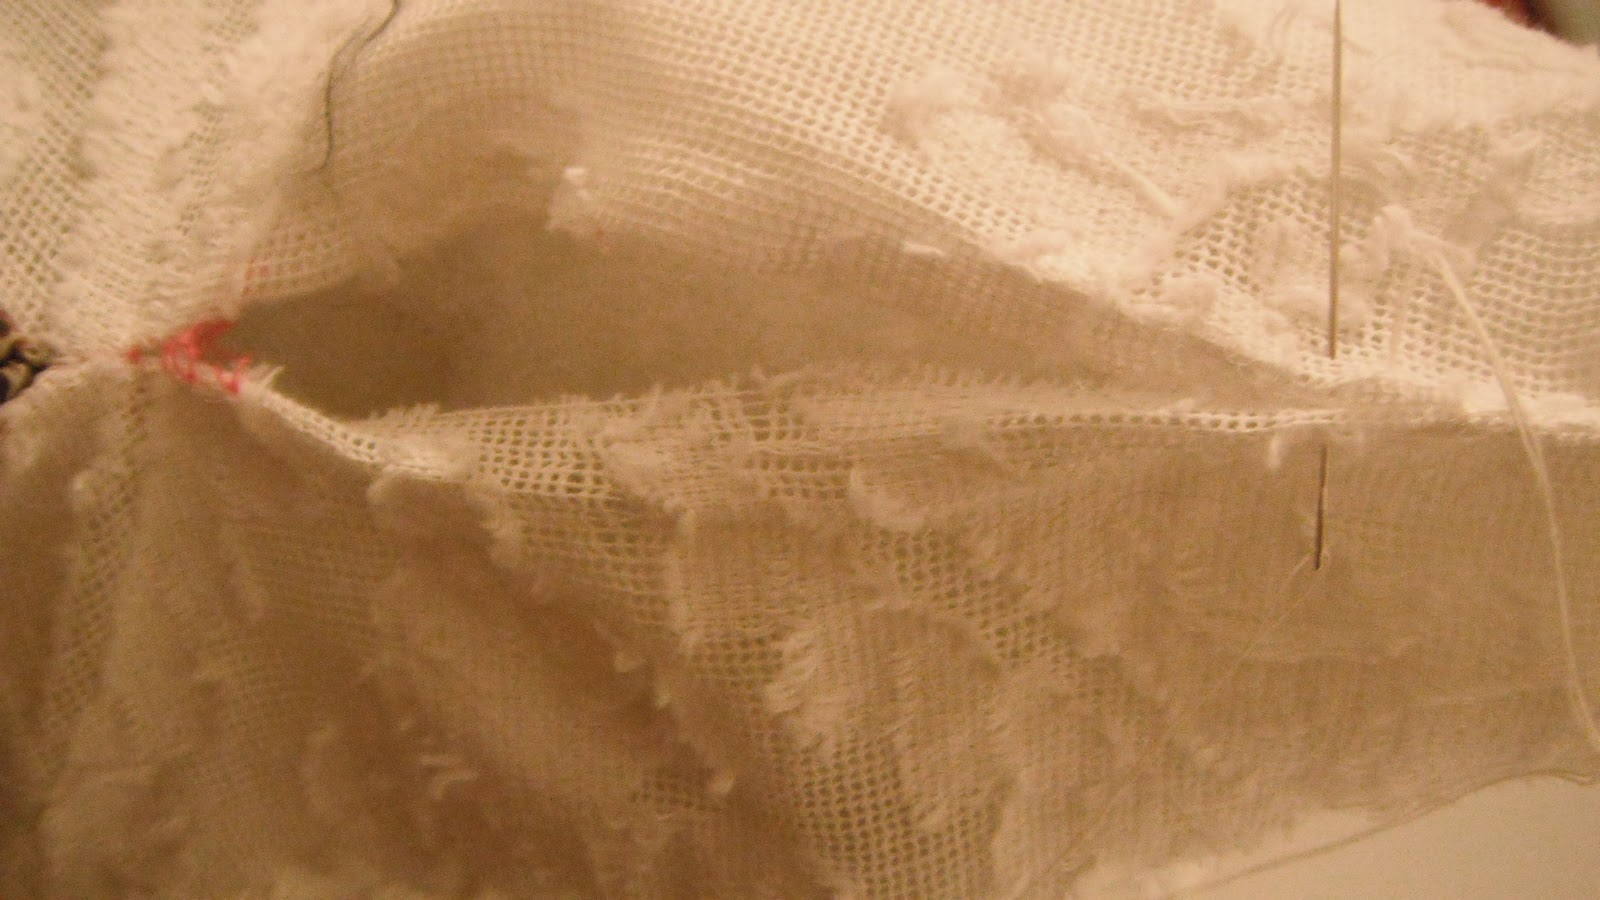
sorry this picture is a little blurry but its the only picture i have. the way you need to pin the wings on is so that right sides are facing each other. you will do this so that you wont see the stitches.
now lets get sewing!! haha. my
sister took this picture while i was slaving away at the sewing machine...so after you are done pinning everything in place you will need to sew on all of your body parts then you can sew your beautiful ruffles onto your owl's belly!
im lazy and i ruffle while im sewing. i have done the basting stitch and pull method but i think this a lot painless and again im LAZY. haha. so the way i do this is i start sewing in the middle and right away i just push the fabric under the presser foot while i am sewing and it makes ruffles!
then after you're all done sewing on body parts of both the front and the back you will match up both bodies right sides together (so that you wont see the stitches). and pin everything so that it is nice and secure!
note: while you are sewing your owl you don't want to just sew all the way around the body. when you come to the feet and the wings you will want to pivot and sew onto the edge of the wing/ foot. you will do this because we want the wings and feet to be stuffed!
when you're sewing make sure you leave a couple of inches undone so that you can turn it right side out! me (being stupid) forgot to leave an opening and i had to unpick it so just remember and it will be very painless!
once you turn it right side out you will need to stuff it! i got my stuffing from an old pillow. you will want to stuff the feet first because they have tiny spaces and it will be harder to fill after everything else is full and plus they're at the bottom so it just makes sense! haha. oh and you can turn out the toes of the feet with a pencil.
when you are all done stuffing you will need to stitch the hole by hand. pick a thread that matches your fabric so that it wont be seen :)
>


Love it! Digging anything and everything owl at the moment :)
ReplyDeleteHey! Thanks so much for stopping by my blog and becoming a follower! I see from your latest project that you have an affinity for owls... I do too. =) I am totally following you back, your blog is adorable!
ReplyDeletethank you so much for following me back! it made my day! haha
ReplyDeleteThanks for stopping by my blog ! This project is too cute, I love owls!
ReplyDeletewww.taylormadehome.blogspot.com
thanks for your sweet comment!
ReplyDelete